Showing posts with label necklace. Show all posts

Saturday, April 7, 2012

"Rock, Paper, Scissors!" Necklace

I'm home for Easter, so I'm afraid I'll just have to show you something I made without directions.  I think, though, that you don't really need any for this.


Aw!  It's my "Rock, Paper, Scissors!" necklace!  Finding that scissor charm was just about the hardest thing I've ever done.  I visited dozens of craft stores, called dozens of hobby shops, and no matter what I couldn't find one.  The thing that bothered me most throughout this escapade was that I know I had seen one before at Forever 21, but because I go to school in the boondocks I wouldn't be able to find it until I went home to visit.  In the meantime, scissor charms in Amazon and other online places taunted me, but I could not justify spending twice the amount of the charm on shipping and handling alone.

So for spring break I went to Forever 21 and found a gold scissor charm.  I'm not a gold person, but it was getting to the point that I just couldn't wait any longer to find the perfect charm.  Plus the necklace was only $1.50.  Forever 21 is a dangerous place to shop for jewelry...

As soon as I get home from finding this charm, I just happen to go to JoAnn's website.  And guess what?  Free shipping on online purchases.  So what's a girl to do?  I ended up buying the silver scissor charm as well.  But I like this one better not only because it's silver but also because it's smaller.

More beauty shots!  I love being able to use the yard at home to take pictures, as well as my mom's camera.    Mine is acting up, so I think it's about time to get a new one.  If only I could afford one!


I've worn this a couple times, and have gotten a few compliments.  I like that it's rather subtle, especially when I have it on a very long chain.

For those of you wanting to recreate this...
- Paper Bead:
   I made the paper bead a while back when I made my Paper Bead Necklace.  Follow the directions there to make your own!  I experimented with sizes on this necklace, and decided that I preferred a small one.  To make it into a charm, I used a headpin, threading on a white seed bead, paper bead, and another seed bead. I simply twisted around the top and put it on a jump ring.

-Rock Bead:
   I used another headpin for this one, again using a seed bead, rock bead, and another seed bead.  Twist over the top and put on the jump ring.

-Scissor Charm:
    At first I simply put one of the handles of the scissors through the jump ring, but I didn't like how that looked.  Instead, I put a jump ring through one of the handles and then put that jump ring on the jump ring along with the other charms.

Easy as rock, paper, scissors!  I know that I'm going to end up wearing this necklace out pretty quickly- I'm completely in love!

Anyways, I'm off to have Easter Eve brunch, and then we're heading off to see the Orioles beat the Twins!  The perfect Easter Eve...


Any other ideas for cute themed necklaces?  Leave them in the comments!

Thursday, March 22, 2012

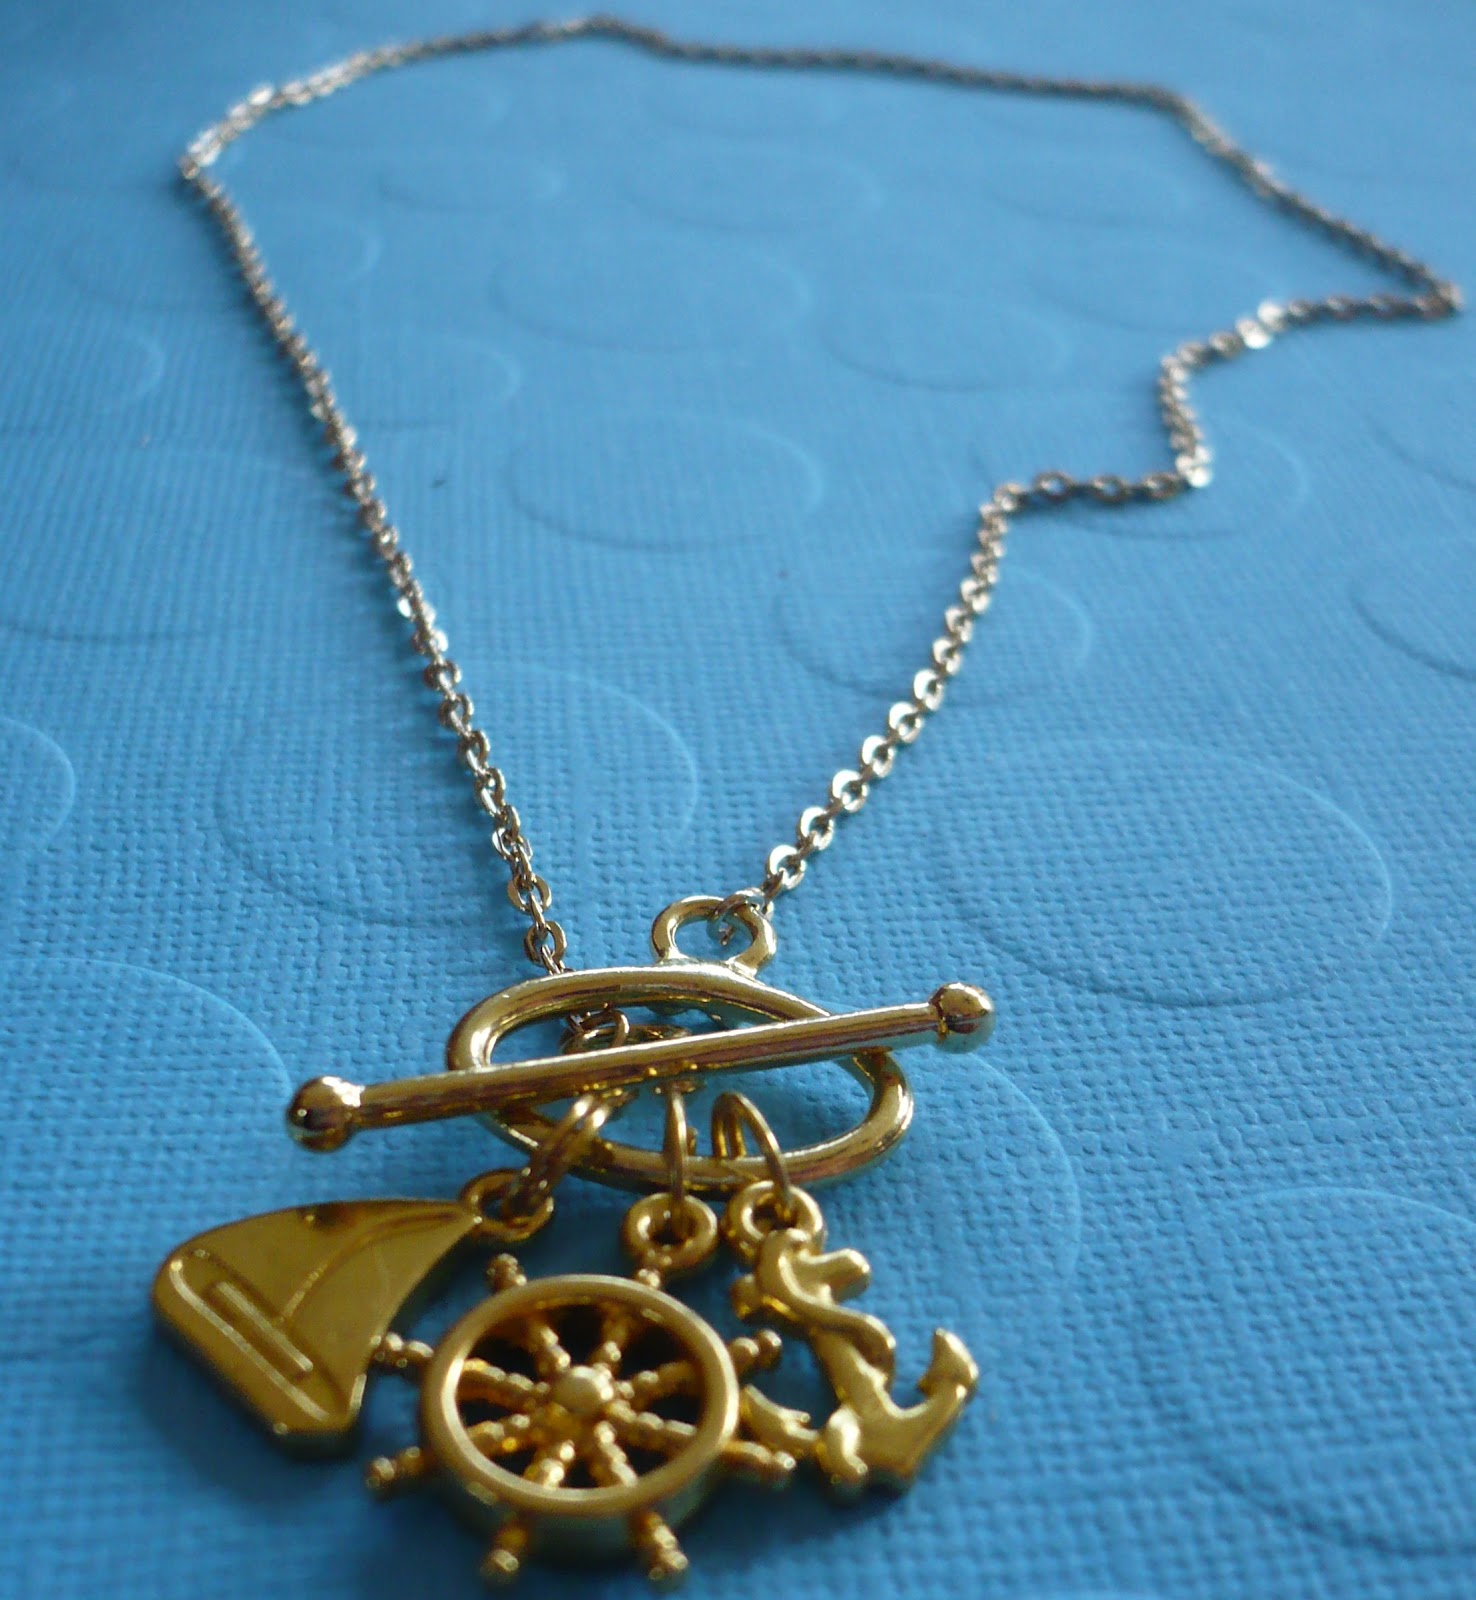
Nautical Necklace

Anchors aweigh! 

Spring Break is coming to a close, and I realize that I've done no homework, and more crafts than I should have been able to responsibly do.  I don't know how I got time to do them, however, between the constant shopping trips!  Today I drifted between craft stores, and when I got home continued the party online.  I've officially ordered a charm that I've been searching for for weeks, and as soon as it arrives I have an awesome craft I'll be posting.  Today, however, I got the bounty for a necklace:

The set of charms was $2 at Michaels.  Of course I printed out a coupon for 20% your purchase including sale items, and completely forgot about it.  Oops, I guess I wouldn't have saved that much anyways.  It's just the concept.  The clasp and chain were 50% off at Hobby Lobby, so the grand total for the necklace was about $4.  Not too shabby!


Spring clasps are great, but sometimes you just want something a little different.
Toggle clasp, ftw! 

I replaced the spring clasp with a toggle clasp.  You'd be amazed at how long it took me to pick this one.  I couldn't decide if the gold of the chain/toggle matched, and polled quite a few women at the store.  I also came to the realize that only older women shop at 1pm on a Thursday at Hobby Lobby, and that these are not the women to ask about color matching.  No offense.


Save this for later...  You never know!


(Again, I'm pretty sure all crafters are hoarders)


Then I attached the charms to the toggle clasp.  This was excessively difficult.  Instead of having normal jump rings the charms were on these sort of key chain things that did not want to open wide enough to be put on the toggle hoop.  Honestly, I'm posting this about 5 hours after making it, and my thumb nails still hurt.


But it's so pretty!  I love how my pictures turned out!  They had some paper on serious sale at Michaels (7 for $1) and I have some crafts coming up that require paper.  While this was chilling in my craft area I decided to put it to work.


And speaking of Michael's clearance.  I adore Michaels- I go there a couple of times a month, and twice this week.  But their clearance?  Seriously.  50 cents off does not a clearance item make.  And it was even worse today than usual.  I was sifting through the beads in the clearance, and noticed some were there for $9.99.  First off, I don't consider it clearance unless it's less than $3.00.  Secondly, the original price?  Guess.

I'll give you a minute.

Yup.  $9.99.

And that wasn't just one item.  Over half of the strings of beads I picked up were not actually at all on clearance.  When I went to check out, I told the cashier about it (yeah, I'm one of those) as well as asked for a price check on another item.  This charm was missing the inset it had originally had, so I assumed it would be on some sort of sale.  Especially since I found it in the clearance section.  Nope.  Still was $4.99. She was very helpful and said that she would check out the clearance and fix it, although I'm sure that was to pacify me.  But she humored me, which I guess is half the battle of retail

By the way, this is the same problem I have with Marshalls/Ross/Home Goods.  When I look for a deal (and I'm always looking for a deal) I expect to be able to find something for less than $5.00.  Those deals are few and far between at those stores.  I'm a thrift store chick born and raised, and I know I'm ruined for normal stores.

Now that I've gone through that rant, leave a comment if you think I'm completely unreasonable in my expectations,  or if you agree wholeheartedly,  or if you want to post 'first!'.  Am I sounding needy enough?

Til next time!


Sunday, February 26, 2012

Paper Bead Necklace

Today I made the absolute cutest, nerdiest necklace I have ever made.


Can we just pause and gawk at how cute it is?


Thank you.  And before I forget I'd like to thank Nicole for modeling it for me!

In case you couldn't see it close enough, those white beads?  Paper.  Yeah, I said it.  I always felt like paper beads looked a little tacky, but as soon as I saw this charm at Hobby Lobby (only $1.47, and then add a 40% off coupon!) I knew that it needed paper beads.

Paper beads are such a traditional camp craft, which probably leads to my dislike of them.  If you've ever sat in a muggy barn trying to force a group of 5th graders to wrap glue-soaked magazine scraps around toothpicks you know what I mean.  But for one night I had to put aside my distaste in order to create my masterpiece.  And I'm so glad I did!

First off, how to make these beads.  First you need paper.  I used paper from a book my roommate had from carving a book for a secret compartment.  I did the same craft, but I'm saving my pages for something bigger and better (stay tuned!).  You'll also need toothpicks and some form of glue and finish (I used Mod Podge to cut out any finishing that would need to be done).

I have two basic shaped beads.  The first is what I think of as a traditional paper bead shape, a sort of egg shaped bead.  First, cut a piece of paper into a long acute triangle.

"I'm cute because all my angles are less than 90 degrees!"
Your math for today.


Then wrap it around your toothpick.  Some people apply glue and then wrap, but I don't because I dislike getting glue on my fingers.  I know this is silly- crafters must live with glue- but I like to limit it.


Ew...  Is that really what my nails looks like?
 Time for a manicure!


After wrapping the paper, use a paintbrush to apply Mod Podge.  Be careful to not get too much on the toothpick or it will be hard to remove the bead.  Let it dry, add a second layer of Mod Podge, and BOOM!  You've got a bead!


Reminds me of a rabbit with quite a large overbite.


The second type, and my favorite, starts with this funky two-triangle shape.


 Wrap it and glue it like you did with the other bead, and voila!  This is the bead you get.  I love it- it's so funky!  Let it dry, add a second coat, and you have bead number two.


Keep making 'em until your fingers are stuck together and you have toothpicks sprouting out of your workplace like it's spring (or, if you're like me, the one toothpick you begged off your roommate is so crusted with Mod Podge that you can't get one more bead off of it).


Now, I have done very few necklaces (read- none) with beads as connectors, so I sort of learned along the way.  The chain I used was from a broken necklace, and I had the wire on hand.  I took my needle nose pliers and somehow broke the links in my chain.  This was, for me, by far the hardest part of this project.  I need to invest in more tools, but again I am a poor college student.  Anyways, I strung my bead on the wire and strung the wire through the chain.


Next, I wrapped the wire around my pliers to make the round shape WITH THE CHAIN IN THE LOOP.  I did this while watching TV, so constantly got distracted and left the chain out of the loop.  Darn Oscars....


Twist the wire around itself, then add the bead and do the same on the other side.  Again, I was watching TV while doing this so I did not capture the second half of wrapping.  But I believe in you.


And here's the finished wrapping craziness.  My original plan was to have my paper airplane hanging on the front somewhere, but I didn't like how it looked.  It would have been better if the charm was smaller.  A quick conference with Nicole and we came up with a new plan...


Hang it off the back!  I got more chain from a broken necklace (I honestly don't know how I break so many necklaces...) and connected my paper airplane to it so it hangs down my back.  It does weigh the necklace down a little so I have to adjust it every so often, but that's the price of beauty, isn't it?


Here again is my amazing necklace.  It was a good way to waste my time while watching the Oscars.  I don't think I mentioned how much I hate watching award shows.  There's something that bothers me about watching famous people patting themselves on the back.  It's not as bad as the Grammy's- my music genre is completely underrepresented- but I have such little interest in movies to begin with that I just get bored stiff.  I don't mind that they're being awarded- I just don't want to watch.  Nicole kept whining, though, so I filled my obligation of 'friend' and sat through it with her.

My goal for next time- take better pictures!  Working over cardboard doesn't make my work too photogenic, but I'm working on it.

See ya' next time!