

Today I had a craft day with Nicole H. Isn't life confusing? Two of my best friends I met at college are named Nicole. Anyways, I took my show on the road and went to her house, where I made a bracelet as she made a cool melted crayon picture.

Nicole glued down the crayons before I came over, and used electrical tape to make a pattern- 5/11/10 is her anniversary with her boyfriend. The tape didn't end up working, but I thought I'd show you anyways.
 At first she wanted to do this inside in the living room. I'm glad I managed to convince her to go outside instead! First of all, it was absolutely gorgeous outside. Secondly, wow did that wax fly! The concrete and mat outside had all these little drips. So did her hair dryer, but she said she got most off. I was surprised at how quickly the crayons began to melt. So many blogs say it will take about an hour. Who knows- I didn't time ours- but I think it went a lot quicker.
 How cool?

She decided that it didn't work too well. Instead she melted the wax some more to cover up the numbers.
|
| Pretty cute, huh? |
While Nicole was making her crayon art, I was making one of those absolutely adorable wrap bracelets.

Here's what you'll need:
- Leather cording. I used most of one container to make a bracelet that wrapped around twice.
- Thread to match the cording. I bought what Hancock Fabrics called button/craft thread.
- A needle that can go through the beads.
- Enough beads to go around the bracelet (I did have some left over).
- A charm to act as the clasp. A bead or button would work as well and be almost as adorable as mine.
Quick side note about Hancock Fabrics. This was the first time I went there. There isn't one around where I live, and since I don't sew the need to visit hadn't come until now. It was kind of a weird store. Obviously it was mostly sewing stuff, but then they had a few beads and home decor items. I was hoping to find a charm I've been searching for for a few weeks now, and they had something close to it so I may be back later. You'll see what I've been searching for in a few weeks. Think of this as your teaser! Back to the bracelet now, however...


 |
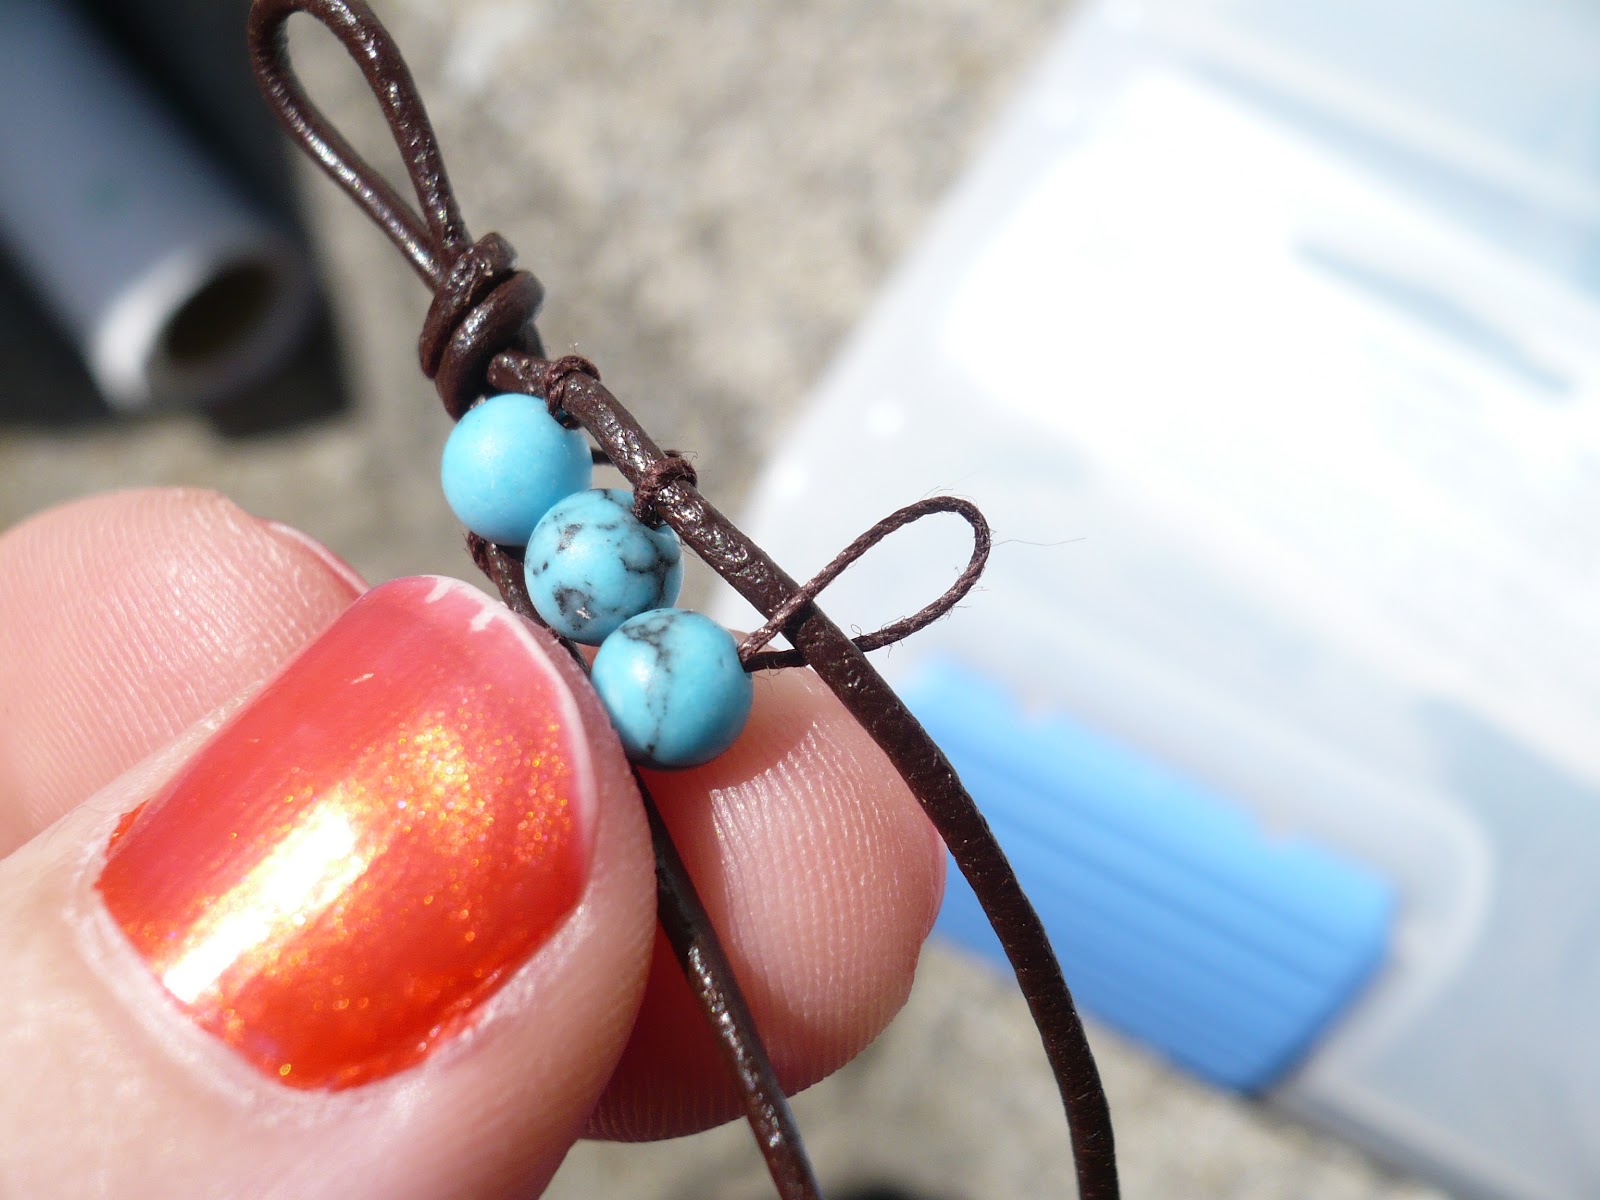
| The more I see my nails, the more I realize I need a touch-up. |


 I mixed up the color after a bunch of the beads. It makes it look like there are a few different bracelets on your wrist. You'd be amazed at how long it took me to pick out these colors!
Once you have all of your beads on it, tie a knot. I also knotted the thread separately to the part going in and out of the bead. Then I looped on my charm and tied it.
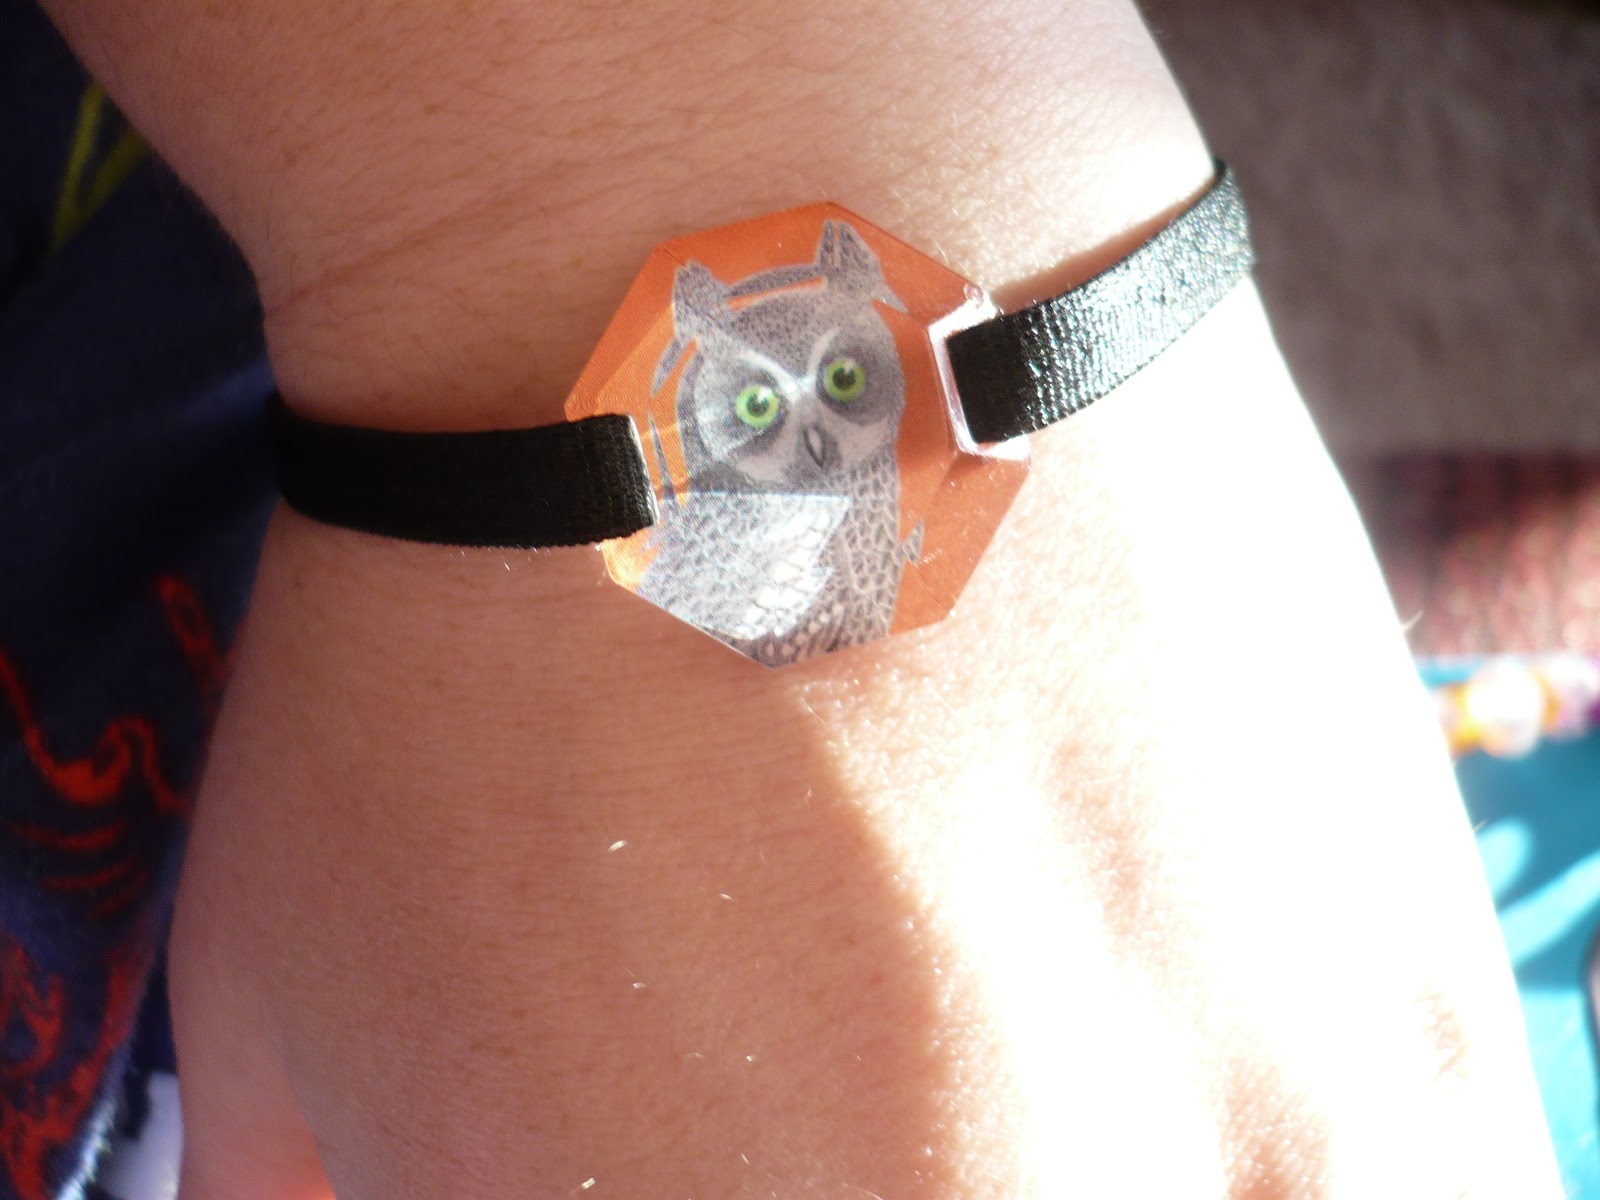
 See how you use the charm as the clasp? Ingenious.
 Ta-da! Finished product.
I'm very proud of how it turned out. It also cost about $6 to make. My roommate Nicole has a bracelet like this that she said cost her $30, and I saw one in a similar style for sale at Sears for about $14. My bow makes mine cuter, though! Only 99 cents at Hobby Lobby!


I guess it's time to take off the snowflakes...
 |
| My Cat in the Hat pj's are a good background too. |
Hope you enjoyed! Please leave me some love in the comments (I would love to know if anyone is actually reading), and check back later for some more sweet crafts!
No comments:
Post a Comment