Showing posts with label bracelet. Show all posts

Saturday, May 12, 2012

Chain and Bead Bracelet


Today, instead of studying for finals, I went shopping.  Got clothes for graduation (one week away!) and yes, craft supplies.  I made two bracelets tonight, neither of which will go with what I'm wearing on my big day, but both of which I will want to wear.


Anyone want to guess my favorite color?

I've had this thing for years...
My mom gave me a bunch of costume jewelry when I was just beginning to make jewelry.  I have no idea what this thing used to be, but it inspired me.  That chain would totally make an awesome bracelet!  So I removed all the 80s bling so that I'd just have the chain.  I have ideas for the pink things later on in life.

I used a bead tip to connect the chain with stretchy string.  To keep the string in I just knotted it a few times and used a super glue to hold it all together.  Better pictures coming soon.

So here's the threaded stuff.  I also added a charm that I had laying around, because I feel like they add that special something to crafts.  Notice the threaded bead tip.

 As you can see, I knotted the stretchy string a few times.  Then I used my super glue, and closed the bead tip and connected it to my chain.


 Finished product!  I love that it has the mix of materials, and because the chain is flat it's comfortable to type while wearing (yes, I'm wearing it while typing...)
Glamour shot!


 I didn't bother documenting the other one I made- I just strung beads onto stretchy string, knotted it, and used super glue.


I found these green beads at JoAnns when I was home for Spring Break.  They're the perfect weight for a bracelet, and the most gorgeous green.

Finals are coming up, and have me stressed out of my gourd.  I'm annoyed because I only have one legit test, and it's on the first day of exams.  But I guess then I'm pretty much done.  And I won a raffle for 20 games of laser tag so the day before graduation Nicole, her boyfriend her brother, her best friend, my brother, and I are going to go to war, boys vs. girls style.  Nicole told me she's a sniper, so maybe she'll level out my complete inability to play.

Tuesday, March 20, 2012

Hex Nut Bracelet

Today I made another cute bracelet!


I got my inspiration here.  I tried to make this bracelet, but it just didn't turn out right.  Then I decided, hey!  You know what?  I like four braids a lot, so I wanted to incorporate the nuts into that instead.  I love how it turned out!  I had the string in my stash of craft supplies, and the nuts cost $1.19 at Lowes for a pack of 24. I have a lot more crafts I can do!


First, cut two long pieces of string.  I generally cut a lot more than I need, so I'm not going to give you advice on how much to cut.

Then I taped the end of my string.  That will make it easier later on to to thread the nut.  See the one on the right?  And that's even BEFORE I start threading and braiding!

 I doubled my string and tied a knot in the top.  Leave a loop- this is where you'll eventually be closing your bracelet.  Make it large enough for whatever clasp you're using.  I often use a knot on the other end as the closure, but this time I used a spring clasp.  You can also use charms like in this post, buttons, or beads.  Be creative!

I used a clip board to hold my braid in place.  Made life so much easier!


 Now here's where it gets complicated.  For a person with a craft blog, I'm really no good at giving instructions.  I will not feel offended if this is the point where you go to google to find instructions elsewhere for a four-string braid.  But I'm giving it the 'old college try'!


When doing this braid, just think of it as a normal three-string braid.  Each string will be doing an under, over, under, over, etc. pattern.


I'm going to let the pictures speak for themselves.  I hope you can follow along!


 Practice makes perfect with this one!  You'll catch on really fast- it's easy once you get the hang of it.  Here's a better look at what the braid looks like:


Now for adding the nuts!  String the nut onto one of the strings that is in the center at that point.  .


Then take the other center string and thread it through the other way so that the nut is anchored in place


Then continue the braid like before, crossing over the strings to hold the nut in place.


I decided to add a nut with one braid between each one.  You do the same thing as before.


I did a total of 5.  I like those odd numbers!

After you get all your nuts there, finish braiding so that it's as long as you need.


I had to add a jump ring at the end in order to add my spring clasp.  I threaded the string through the jump ring and tied it in place.


I used Unique Stitch to add extra reinforcement to my knot.  I don't trust myself with making knots.


 The spring clasp wouldn't fit around the string, so I did a Chinese staircase around it to hold it closer together, and add a jump ring for attaching it.


 And the finish product!  I'm pretty happy with it, and it's such a comfy, lightweight bracelet.


I like the unexpected pop of color added by the Chinese staircase!  Kept it all neat and tidy.


My mother and brother just headed out today  to visit a law school and won't be back until Sunday, so I have a lot of time to be productive.  And by productive I mean do crafts.  And read.  And sleep.

I would love to see what you all do!  If you make your own version, I'd love to see them in the comments!

Sunday, March 11, 2012

Crayon Art and Wrap Bracelet

Today I had a craft day with Nicole H.  Isn't life confusing?  Two of my best friends I met at college are named Nicole.  Anyways, I took my show on the road and went to her house, where I made a bracelet as she made a cool melted crayon picture.


 Nicole glued down the crayons before I came over, and used electrical tape to make a pattern- 5/11/10 is her anniversary with her boyfriend.  The tape didn't end up working, but I thought I'd show you anyways.

At first she wanted to do this inside in the living room.  I'm glad I managed to convince her to go outside instead!  First of all, it was absolutely gorgeous outside.  Secondly, wow did that wax fly!  The concrete and mat outside had all these little drips.  So did her hair dryer, but she said she got most off.  I was surprised at how quickly the crayons began to melt.  So many blogs say it will take about an hour.  Who knows- I didn't time ours- but I think it went a lot quicker.

              How cool?


She decided that it didn't work too well.  Instead she melted the wax some more to cover up the numbers.
Pretty cute, huh?


While Nicole was making her crayon art, I was making one of those absolutely adorable wrap bracelets.


 Here's what you'll need:

  • Leather cording.  I used most of one container to make a bracelet that wrapped around twice.
  • Thread to match the cording.  I bought what Hancock Fabrics called button/craft thread.
  • A needle that can go through the beads.
  • Enough beads to go around the bracelet (I did have some left over).
  • A charm to act as the clasp.  A bead or button would work as well and be almost as adorable as mine.
Quick side note about Hancock Fabrics.  This was the first time I went there.  There isn't one around where I live, and since I don't sew the need to visit hadn't come until now.  It was kind of a weird store.  Obviously it was mostly sewing stuff, but then they had a few beads and home decor items.  I was hoping to find a charm I've been searching for for a few weeks now, and they had something close to it so I may be back later.  You'll see what I've been searching for in a few weeks.  Think of this as your teaser!  Back to the bracelet now, however...

I wrapped the leather around my wrist 6 times because I wanted to have three wraps to my bracelet.  Then I  folded it in half and tied a knot.  I threaded my needle and stuck it through the knot and tied it in place.  Sorry I didn't get a picture- while I was doing this I was completely distracted by the crayon magic going on beside me.

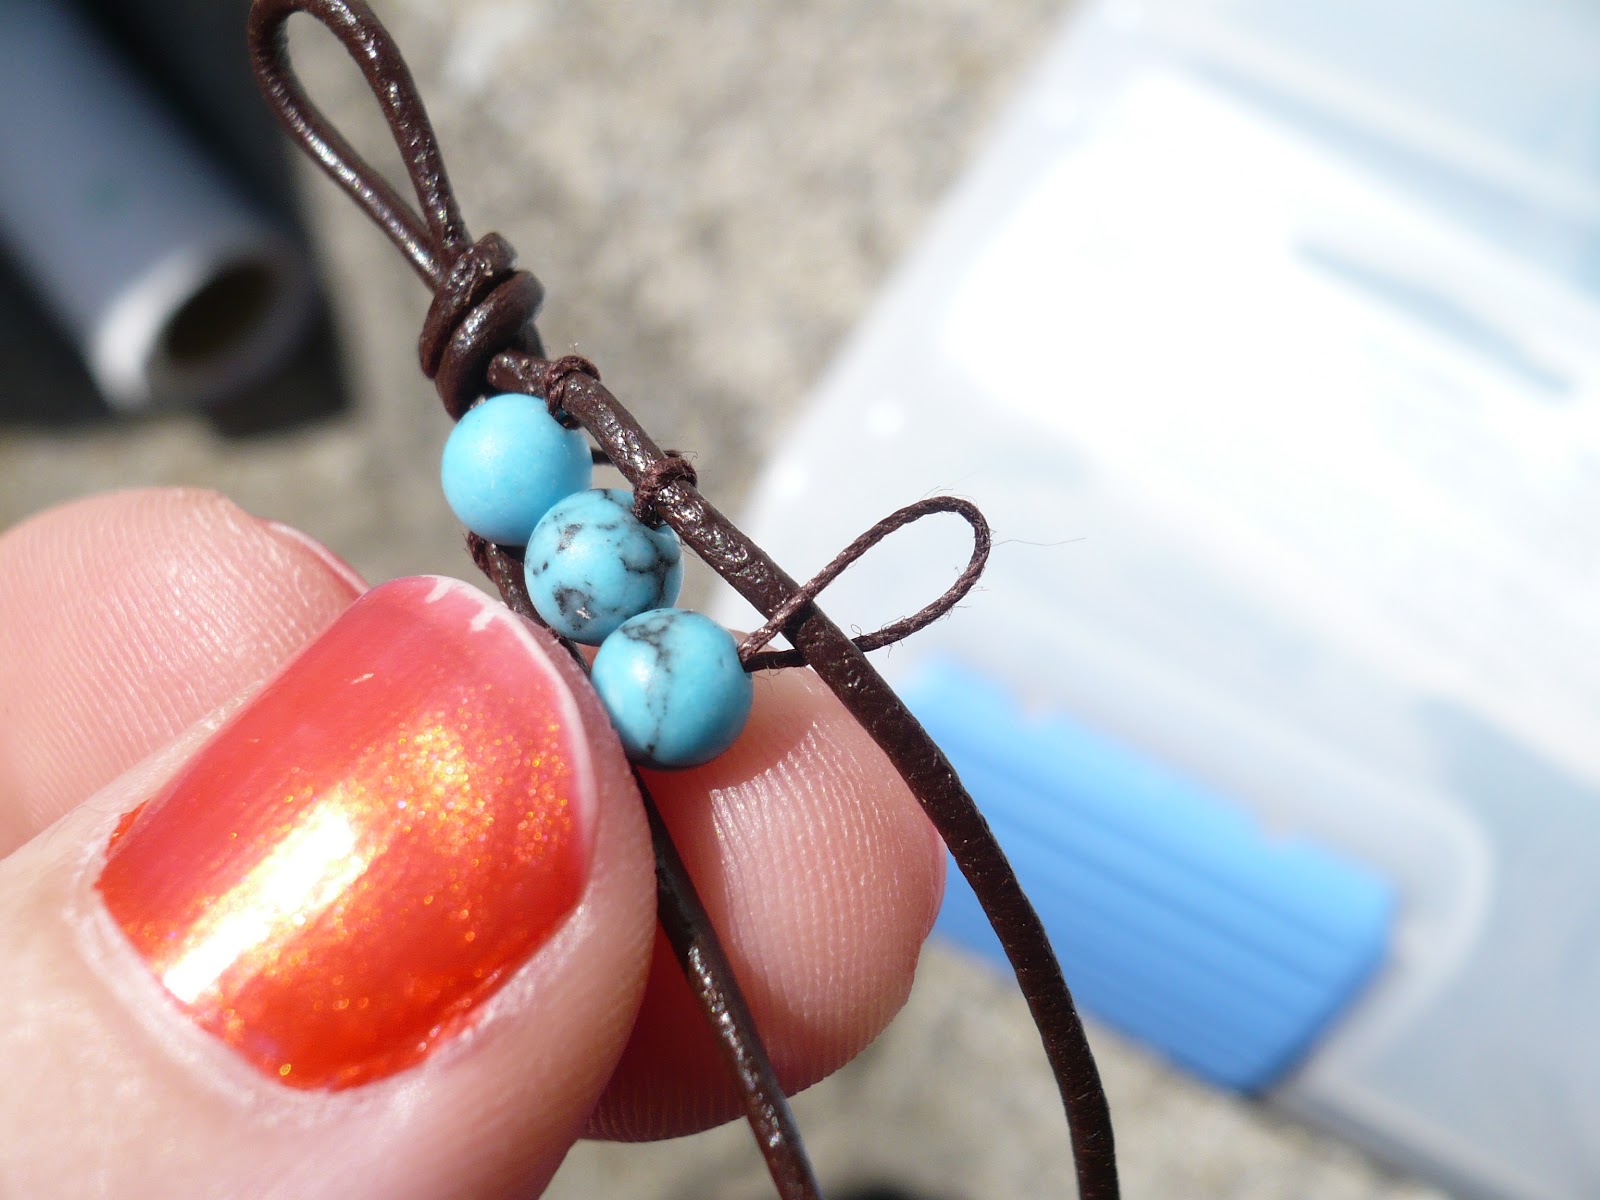
 Putting the beads on is very easy (especially when your needle fits in the hole...).  Stick the bead on the thread and pull tight.
 Loop the thread around one side of the leather string.
 Push the needle back through the bead...
 and pull tight.
 I can't be the only one who does this- my clothing becomes a life-size pincushion.  I get in a lot of trouble at home when my mom comes home and sees safety pins sticking out of the sofa.  It just makes life so much easier.
The more I see my nails, the more I realize I need a touch-up.
 BACK to the bracelet.  After you've pulled it tight, wrap the thread around the other side of the leather string and you're back to the beginning.
 Make sure you pick a color you like- you'll be so tired of it by the time you're done.  This took me a few hours.
I mixed up the color after a bunch of the beads.  It makes it look like there are a few different bracelets on your wrist.  You'd be amazed at how long it took me to pick out these colors!


Once you have all of your beads on it, tie a knot.  I also knotted the thread separately to the part going in and out of the bead.  Then I looped on my charm and tied it.


See how you use the charm as the clasp?  Ingenious.

Ta-da!  Finished product.


I'm very proud of how it turned out.  It also cost about $6 to make.  My roommate Nicole has a bracelet like this that she said cost her $30, and I saw one in a similar style for sale at Sears for about $14.  My bow makes mine cuter, though!  Only 99 cents at Hobby Lobby!

 Here's a side effect of crafting outside.  It was absolutely gorgeous out there, but we were straight in the sun.  First burn of the season!  Daylight Savings has me off to a good start.


 I guess it's time to take off the snowflakes...


My Cat in the Hat pj's are a good background too.
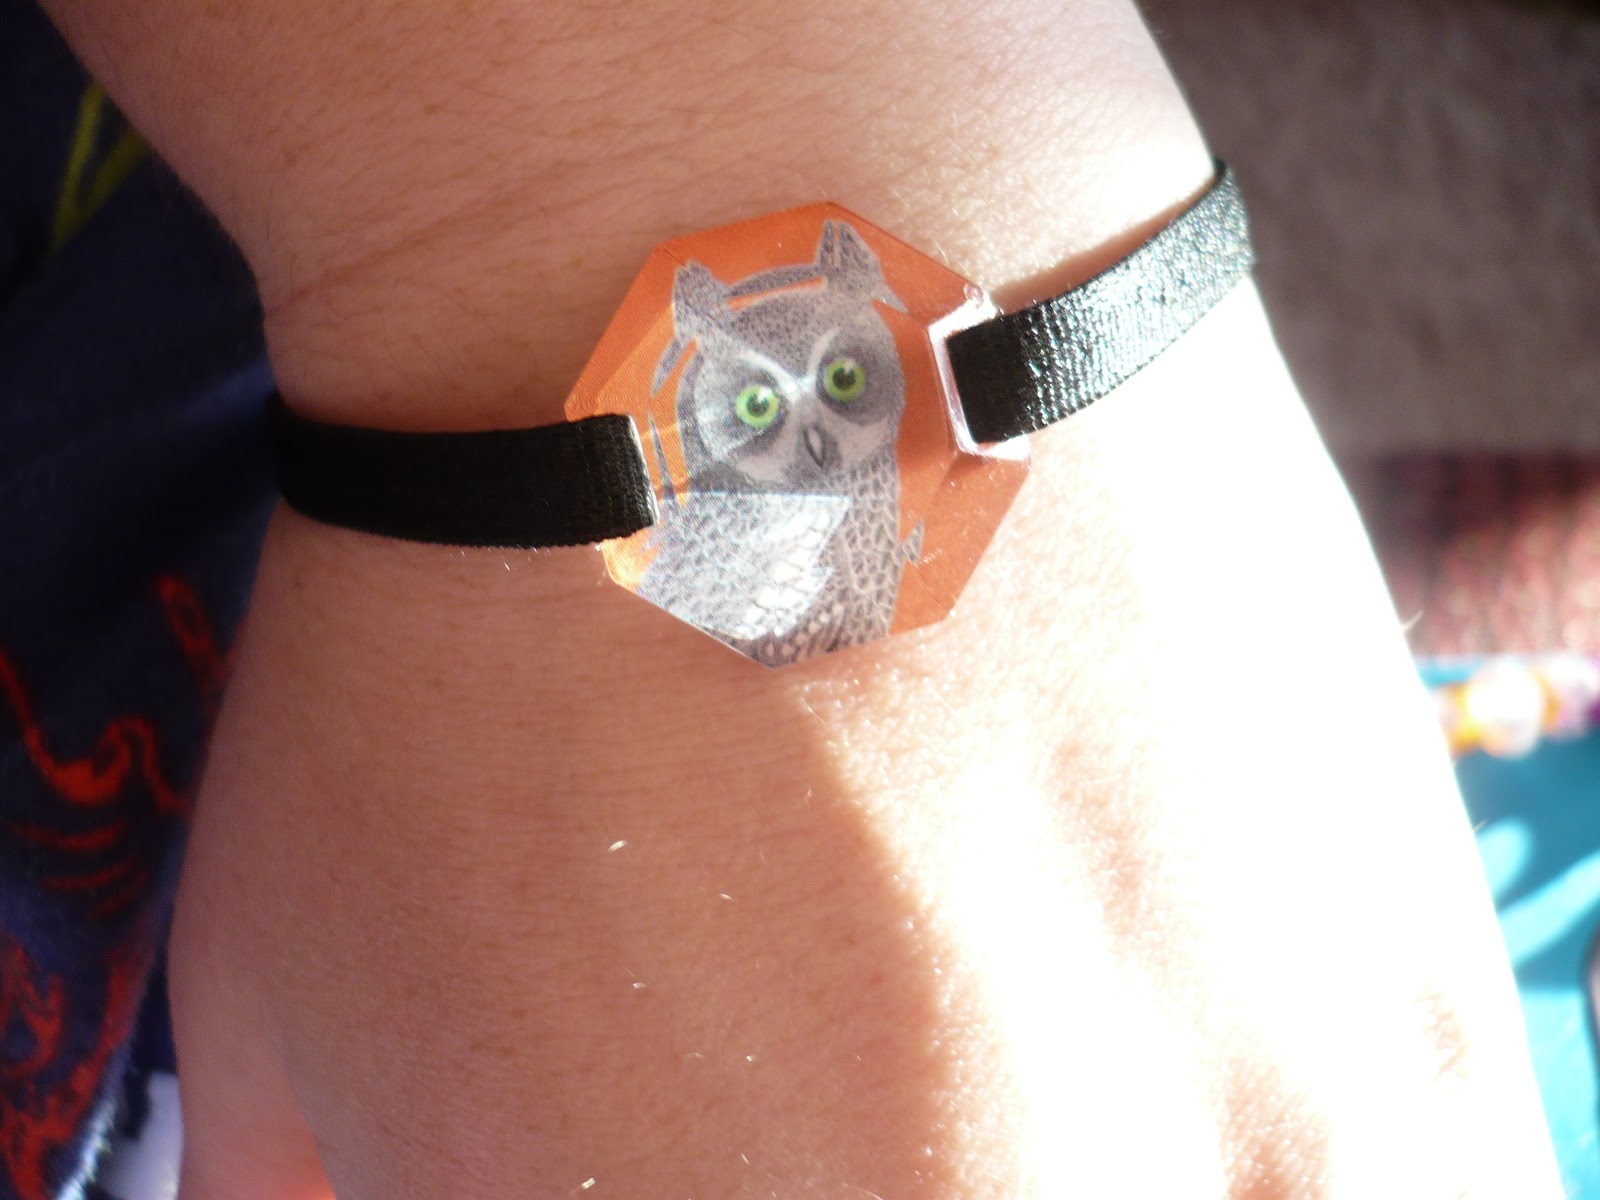
Just a quick side note.  This weekend I went to Pier One.  I'll admit I'm a complete fool for that store, especially the clearance section.  I'm also a complete fool for owls, so I was in luck this weekend when I saw this bracelet in the clearance section for just under $2.  If it wasn't for the bracelet I made today, I'd be wearing this one all the time.  The jewelry at Pier One is usually pretty gorgeous.


Hope you enjoyed!  Please leave me some love in the comments (I would love to know if anyone is actually reading), and check back later for some more sweet crafts!