Happy Cinco de Mayo! As promised, I have a new post this week. And a doozie of a story. I bought a $1 picture frame from Michaels a few months ago, and my plans for it have changed four times now. Let me walk you through my mind...
1. I was going to use comic strips to decorate it. Have them overlapping, a cool collage. This will probably happen in the future, but collecting the comics was getting moderately daunting.
2. I decided that I wanted to use it somehow in my future classroom, so I found a bunch of inspirational education quotes. I was going to mod podge them onto it, then have my "teacher rules" in it. I love it when teachers display what rules they'll follow (e.g. I will respect you, I will put in my most effort to reach your needs, etc.).
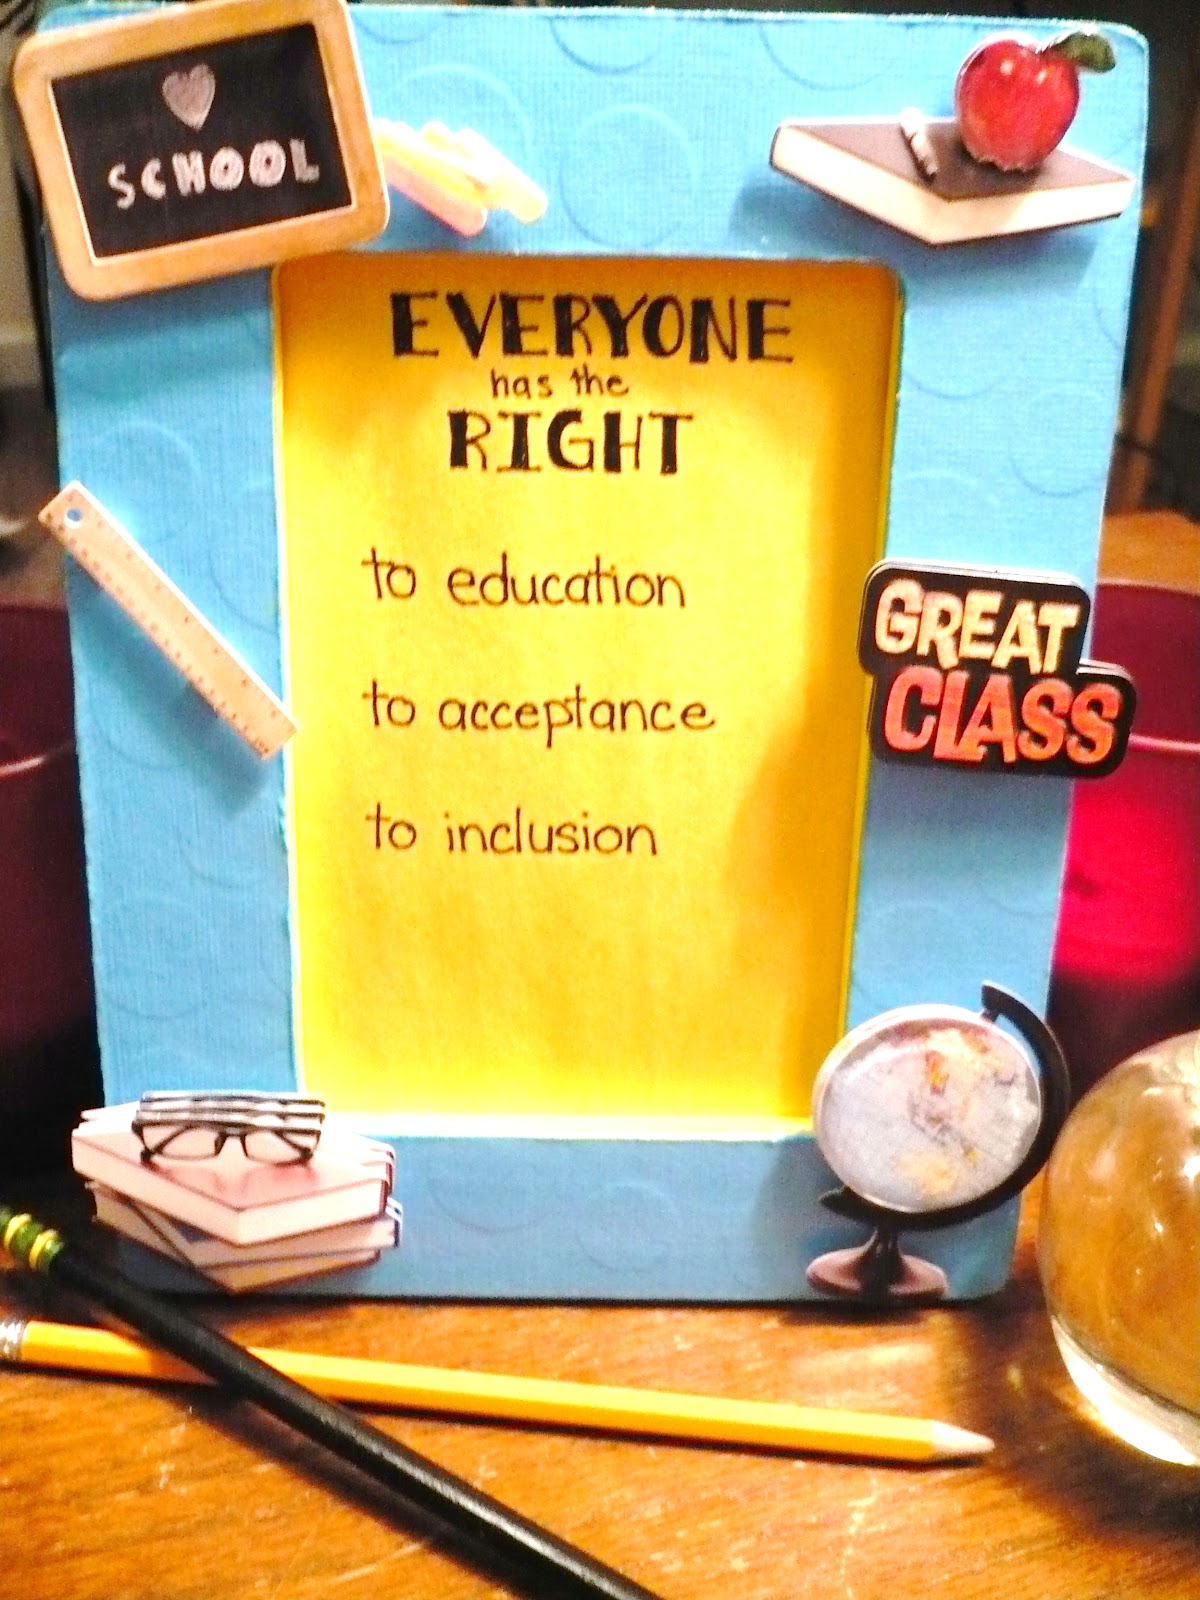
3. I then got an assignment for one of my classes. I had to make a "banner" (or any display) of my beliefs for inclusion. Well, here I had this picture frame that had been sitting around. Why not use it for this assignment instead? So I bought some scrapbooking stickers to decorate it. And then I lost the stickers. I tore apart my apartment three times over searching for them. So change from plan three to plan...
4. was just a change in the stickers I used. I bought new ones from Michaels today. And decided I should probably use them immediatly so that I don't loose them again. After all, this is due Wednesday.

Here are my materials:
- Wooden picture frame
- Scrapbook paper
- Exacto-knife
- Pencil
- Paint
- Mod Podge
- Brush for paint
- Brush for mod podge
- Any other decorations your heart desires

First things first- paint the parts of the frame that will be showing. For me this was the sides and the inner part of the frame. The main front part will later be covered by my paper.


Next I traced my frame on my paper. Sorry about the blurry photo, but I think you have the idea.

Use your handy dandy exacto-knife to cut out the paper. Perfect!


After it's completely dry, add the embellishments (before you loose them). I love these 3D stickers. They were 40% off, and I had a coupon for an extra 25% off. Can't beat that!
And here it is completely finished! I hand wrote my beliefs on construction paper, which I then coated with mod podge. My other plan was to laminate it, but I figured I had mod podge with me, while I would have to go somewhere else to pay for laminating.
No comments:
Post a Comment